Dieser Beitrag ist auch verfügbar auf:
You bought yourself a Stryd and you don’t know exactly what to do next? ;) Unfortunately the manufacturer has so far failed to write a manual for it (except for this collection of support articles). Maybe I can help you with the first steps.
Start-up
The new toy has finally arrived and of course you want to start playing with it right away. But before that, a few things have to be set up so that this makes sense. First of all, you should install the Stryd app on your mobile phone, create a user account and connect the Footpod via Bluetooth. Maybe there is a firmware update available, which you should install immediately. You will be informed about later updates via app.
Weight Settings
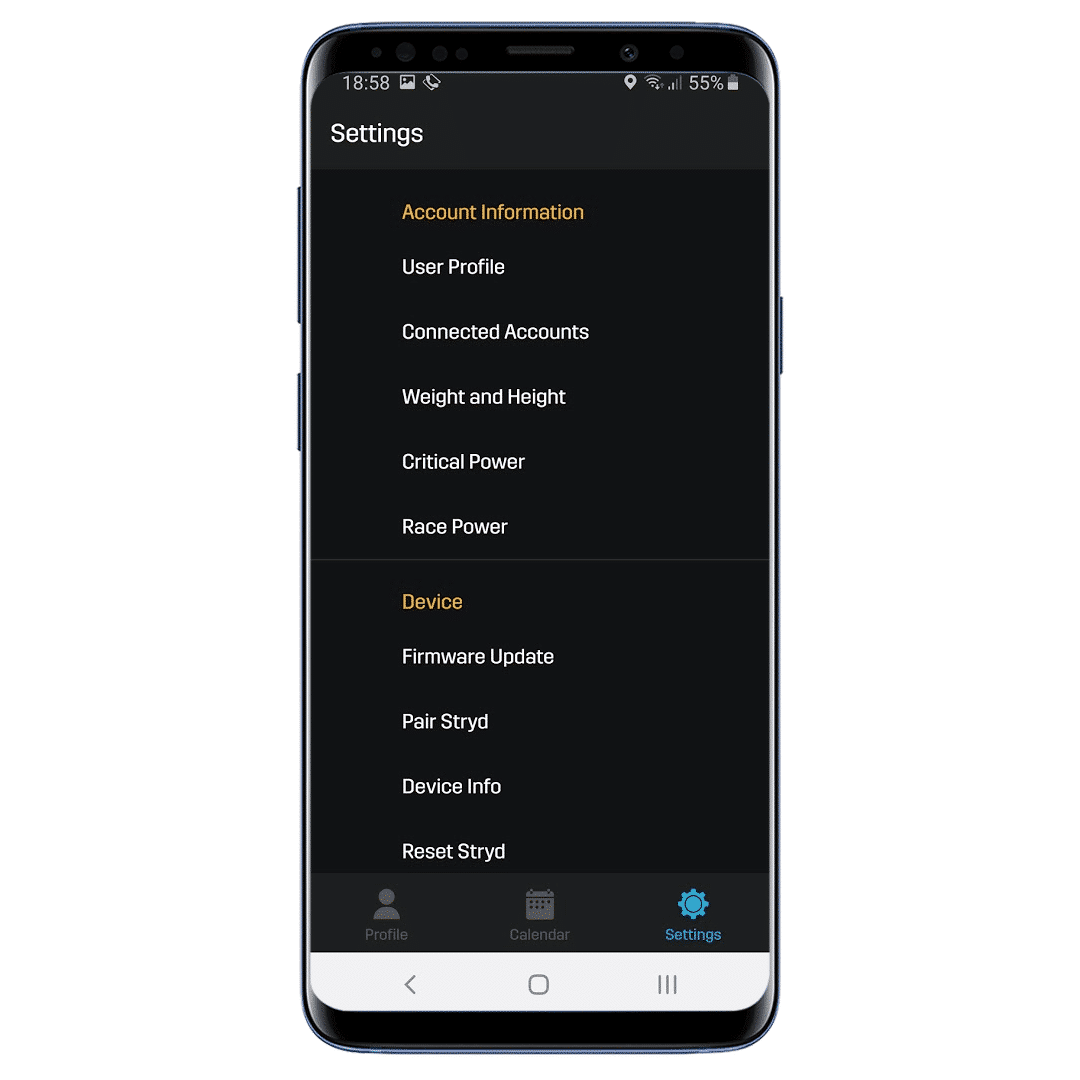
Next, it is important to enter your height and weight into the app. Both data influence the calculation of the power values significantly, so they should be correct. You can make a science out of which weight value should be entered here and how often it is to be adjusted. Theoretically it would be perfect to step on the scale every morning and this daily value is then transferred to the Stryd – preferably automatically.
In practice, however, it is not worth considering fluctuations of two or three kilograms. Especially if these values are around a “mean value” at a relatively constant level. Thus, if there is such an average value, put that into the Stryd settings. Only if the weight deviates more than 2-3 kilograms up or down over weeks, I would change the settings.
Connecting with the Watch
Technically you could start running right now and the Stryd would record the training on its own. But of course we also want to see the power values on the watch. Depending on the manufacturer, slightly different steps are necessary. In any case, the Stryd must be connected to the watch as a footpod. Detailed instructions for all compatible watches are available directly from the manufacturer (Garmin, Polar, Suunto, Apple Watch).
I think the combination of Stryd and Garmin is particularly good, so this is my first choice. But you will have to consider some specialities here. It is not enough to just use the Stryd as a running sensor. In addition, the Connect IQ data field “Stryd Zones” must be installed and also used (!) on one of the displays of the watch.
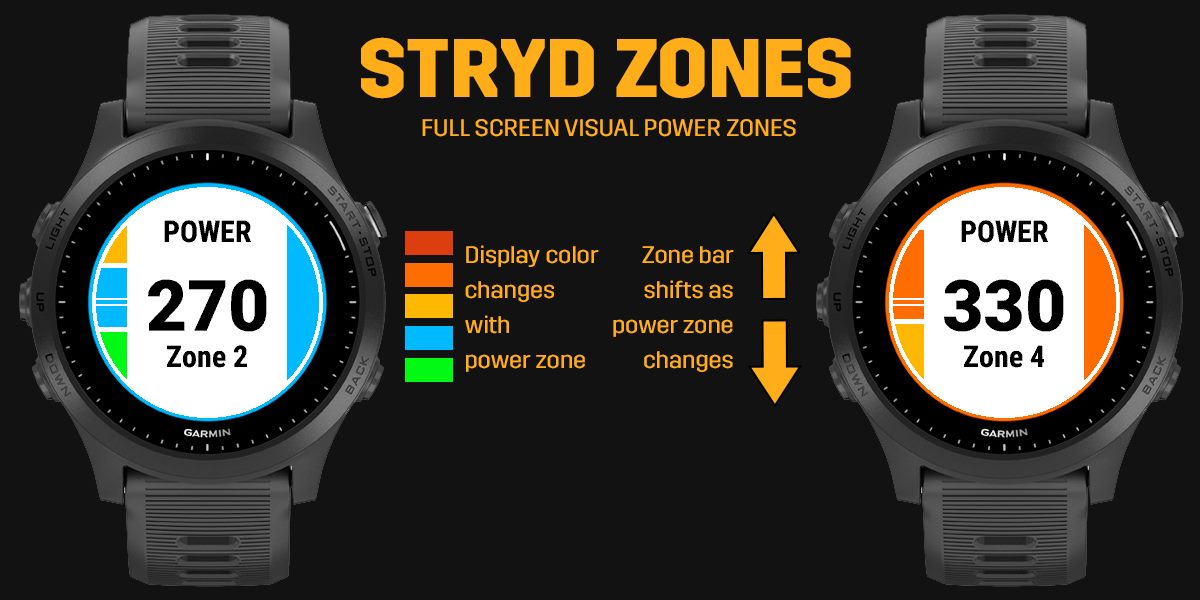
This means that really all metrics of the Stryd are transmitted to the watch and stored in the Garmin FIT file. So you get a complete record of all data ( watch + Stryd ) in one file. With Polar and Suunto only the power is recorded, while metrics like Leg Spring Stiffness can be integrated later.
First Run
Mounting
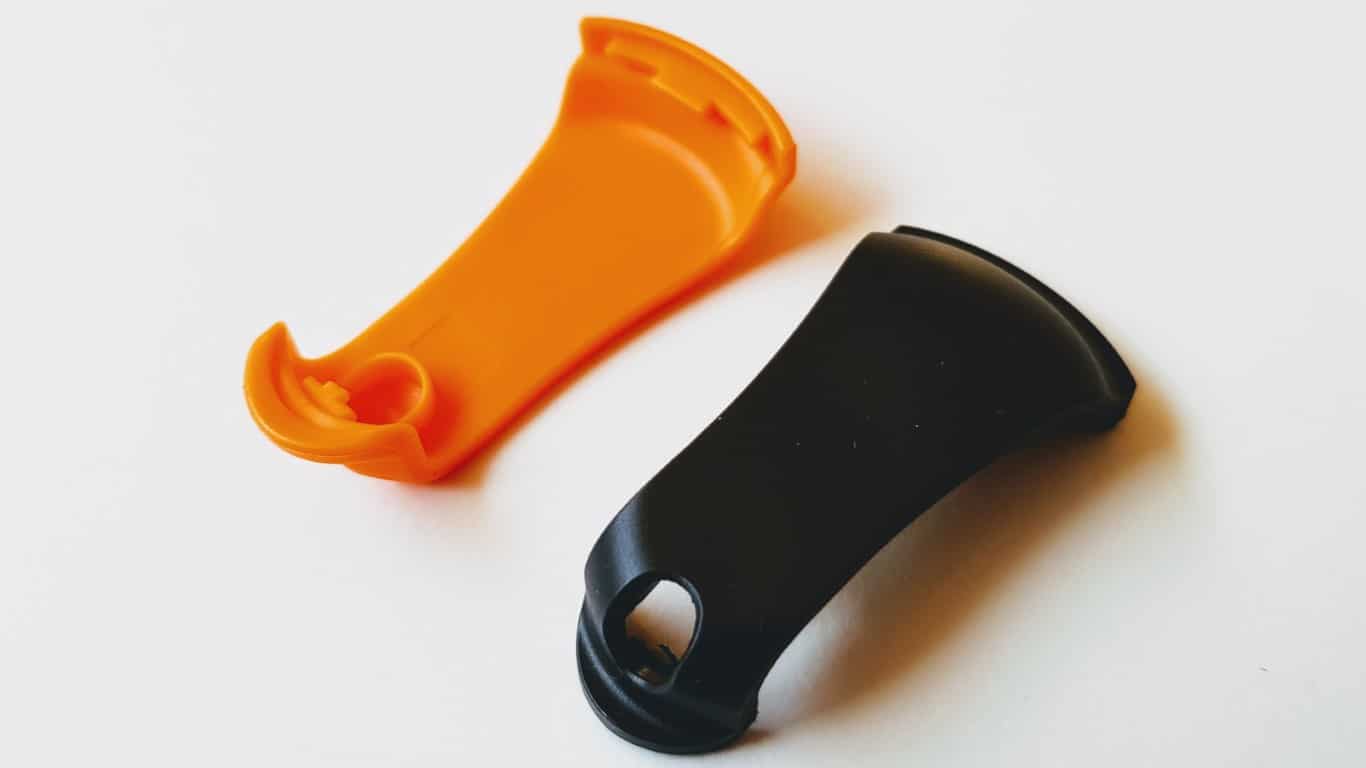
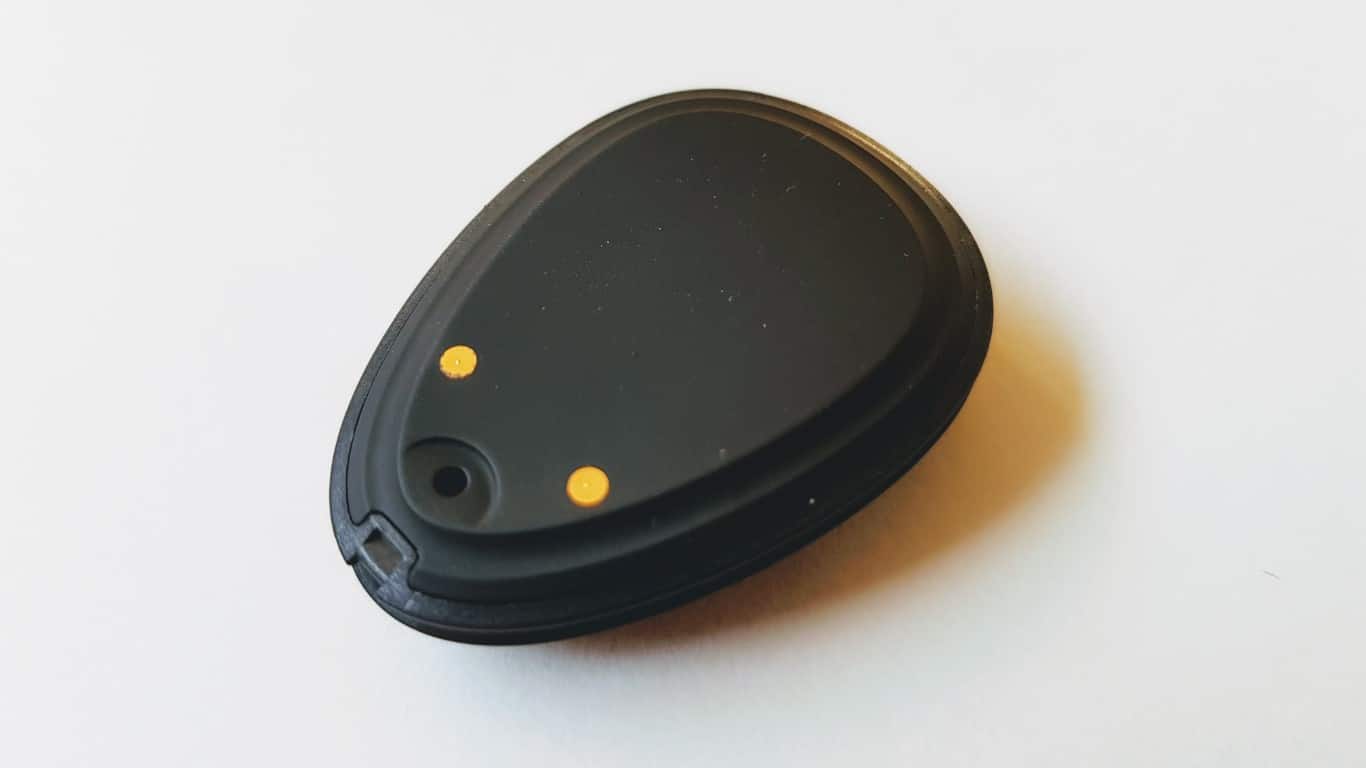
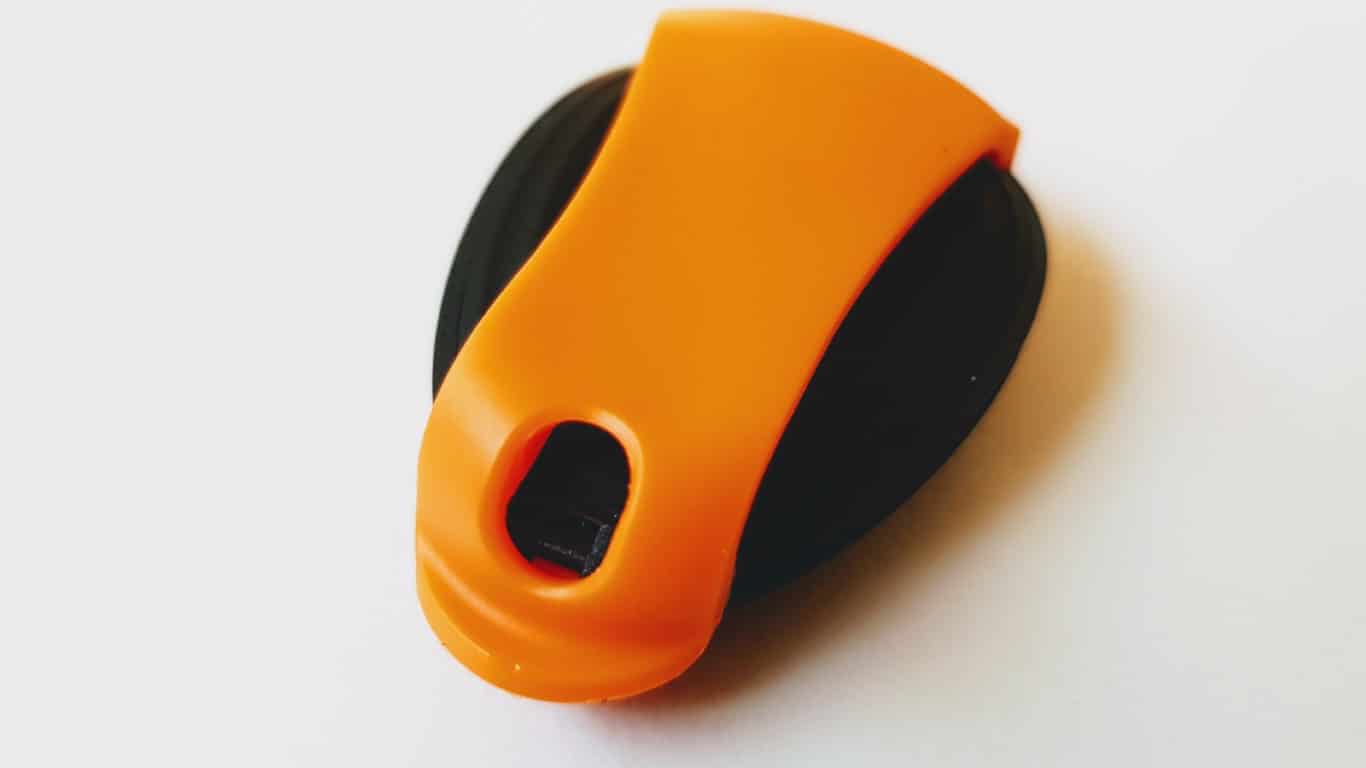
Once everything is set up, you can go on the first run. Of course the Stryd Footpod has to be attached to the shoe. A short video shows how to do this correctly:
Although this may seem like a simple step, there are a few points to consider. Basically, you have to choose a foot and should then stay on that side. Also the position on the shoe should be as consistent as possible. This means not sometimes at the top and sometimes at the bottom of the lacing. With some shoe models not all positions are possible, so I chose the middle of the lacing. That works almost always.
When fastening, the “broad end” must be pushed into the clamp first. In the past there have been problems with broken holding lugs (front) and loss of the Stryd while running (!). This should not happen with the correct procedure. With the Stryd Wind V3 you also have to make sure that the laces do not obstruct the airway in the clamp.
Still feel like running? ;) Let’s go! The first few runs are all about getting familiar with the new metric. Just watch how the power values change uphill or downhill. Even very slight inclines, which you normally don’t notice, can make a difference.
I think it is important not to skip this phase. We all know a lot about heart rate and pace by now and know, for example, that the pulse is always lagging. But the power display is new and has its own laws, so to speak. It makes sense to get familiar with it before you really want to train by power.
Sync
You also get a feeling for the power values if you look at the recording of the run afterwards. For this purpose, the data has to be transferred to the desired platform – as complete as possible. And that is not that easy sometimes… But once you have set up your synchronization correctly, it works quite well.
Garmin
The easiest way is to run with a (compatible) Garmin watch. All metrics are recorded by the Connect IQ datafield then and be synchronized to all other plattforms. This is first of all Garmin Connect as a manufacturer portal. And that’s not too bad in this context, because without further ado, not only power but also the other Stryd metrics are shown.

But it does make sense to also synchronize to Stryd Powercenter. Just set up the Garmin import there and use all of the advenced Stryd features.
Polar and Suunto
As already mentioned, the other manufacturers do not store all Stryd metrics on the watch, but “only” power. So even after synchronizing with the manufacturer portal, you won’t see Leg Spring Stiffness or any other metrics of the Footpod. However, Stryd has a solution for this in the Powercenter.
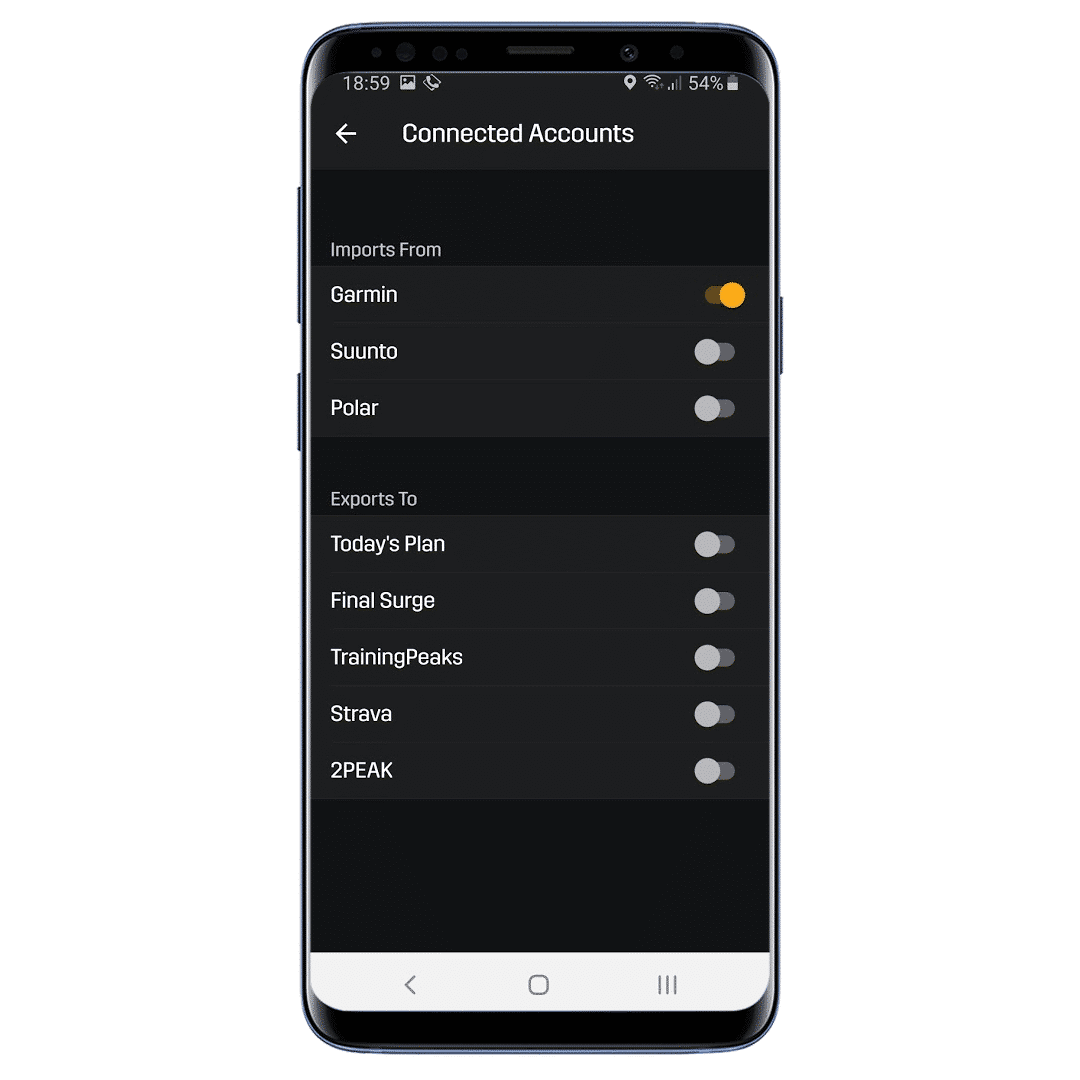
First you set up (just like with Garmin) an import of Polar or Suunto in the Powercenter. Shortly after the training session has been uploaded, it is already available in the Powercenter.
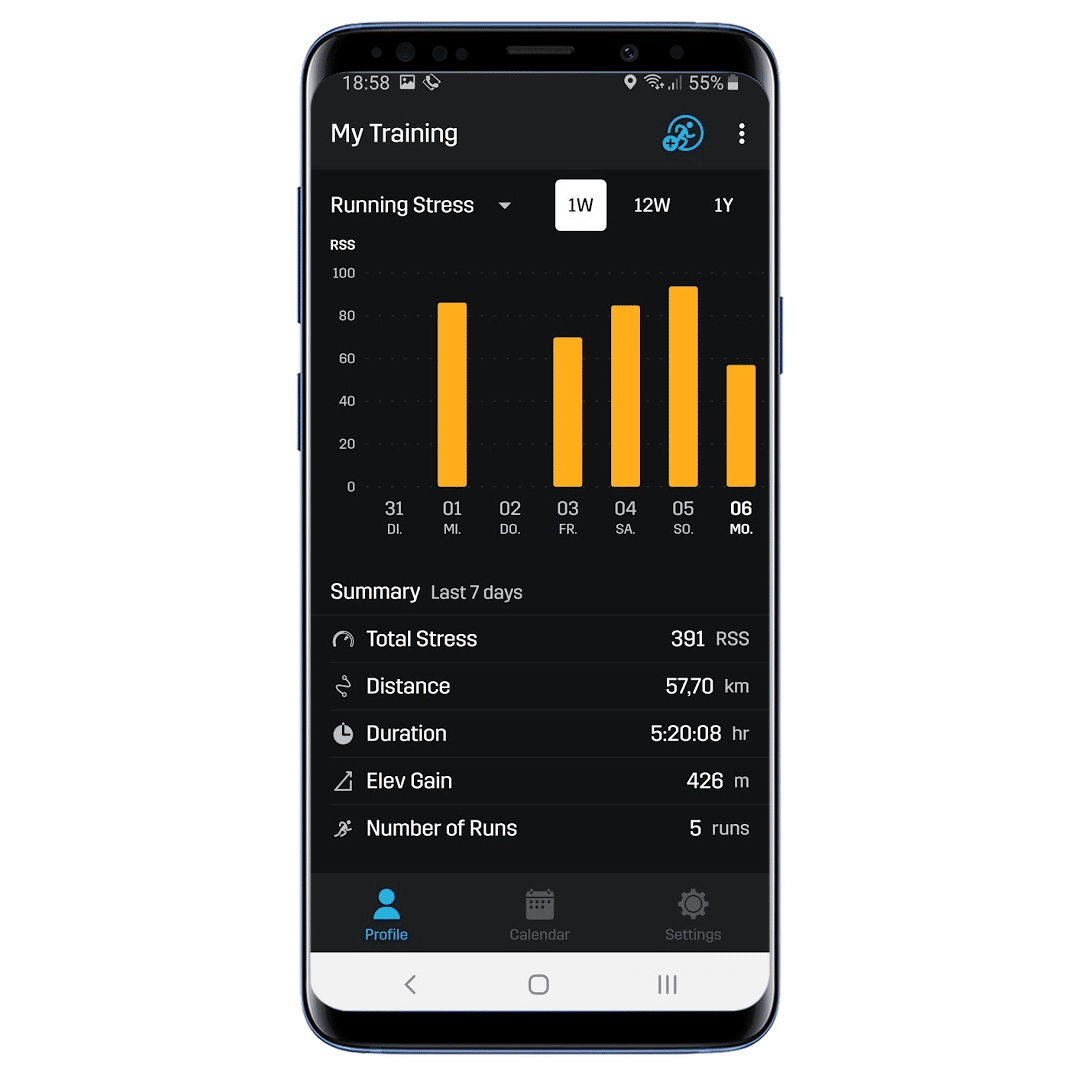
Now comes the second step: In addition, an offline sync via the Stryd app on the mobile phone must be performed. But you can’t really start this until the run appears there. To do this, go to “My Training”, click on the blue symbol for “Record Activity” and select “Sync Offline”.
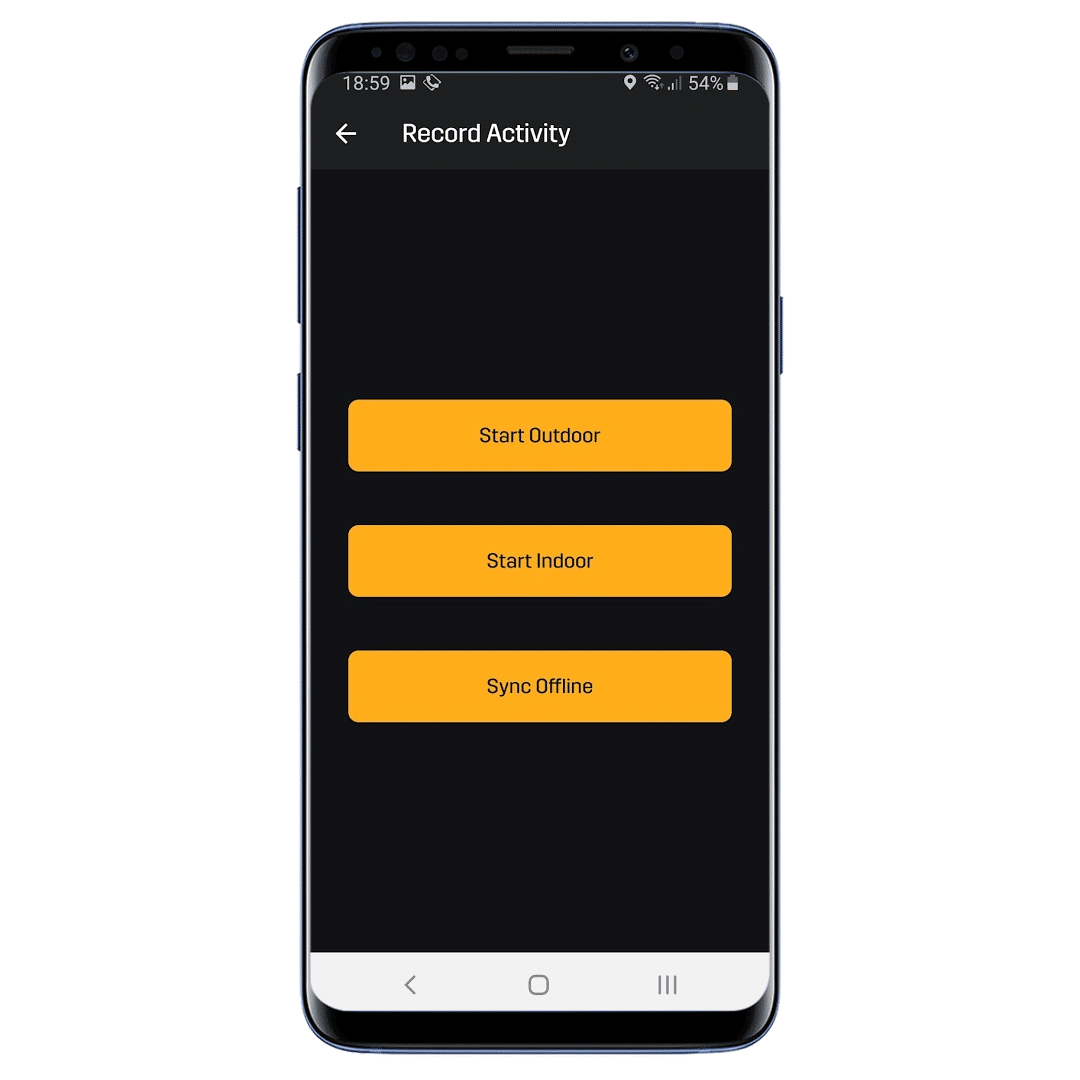
The app then establishes a Bluetooth connection to the Stryd (which should be nearby…) and synchronizes all runs stored on the footpod. If a suitable (Polar or Suunto) run is already entered in the Powercenter, the data is automatically merged (see also support article).
Stryd Powercenter
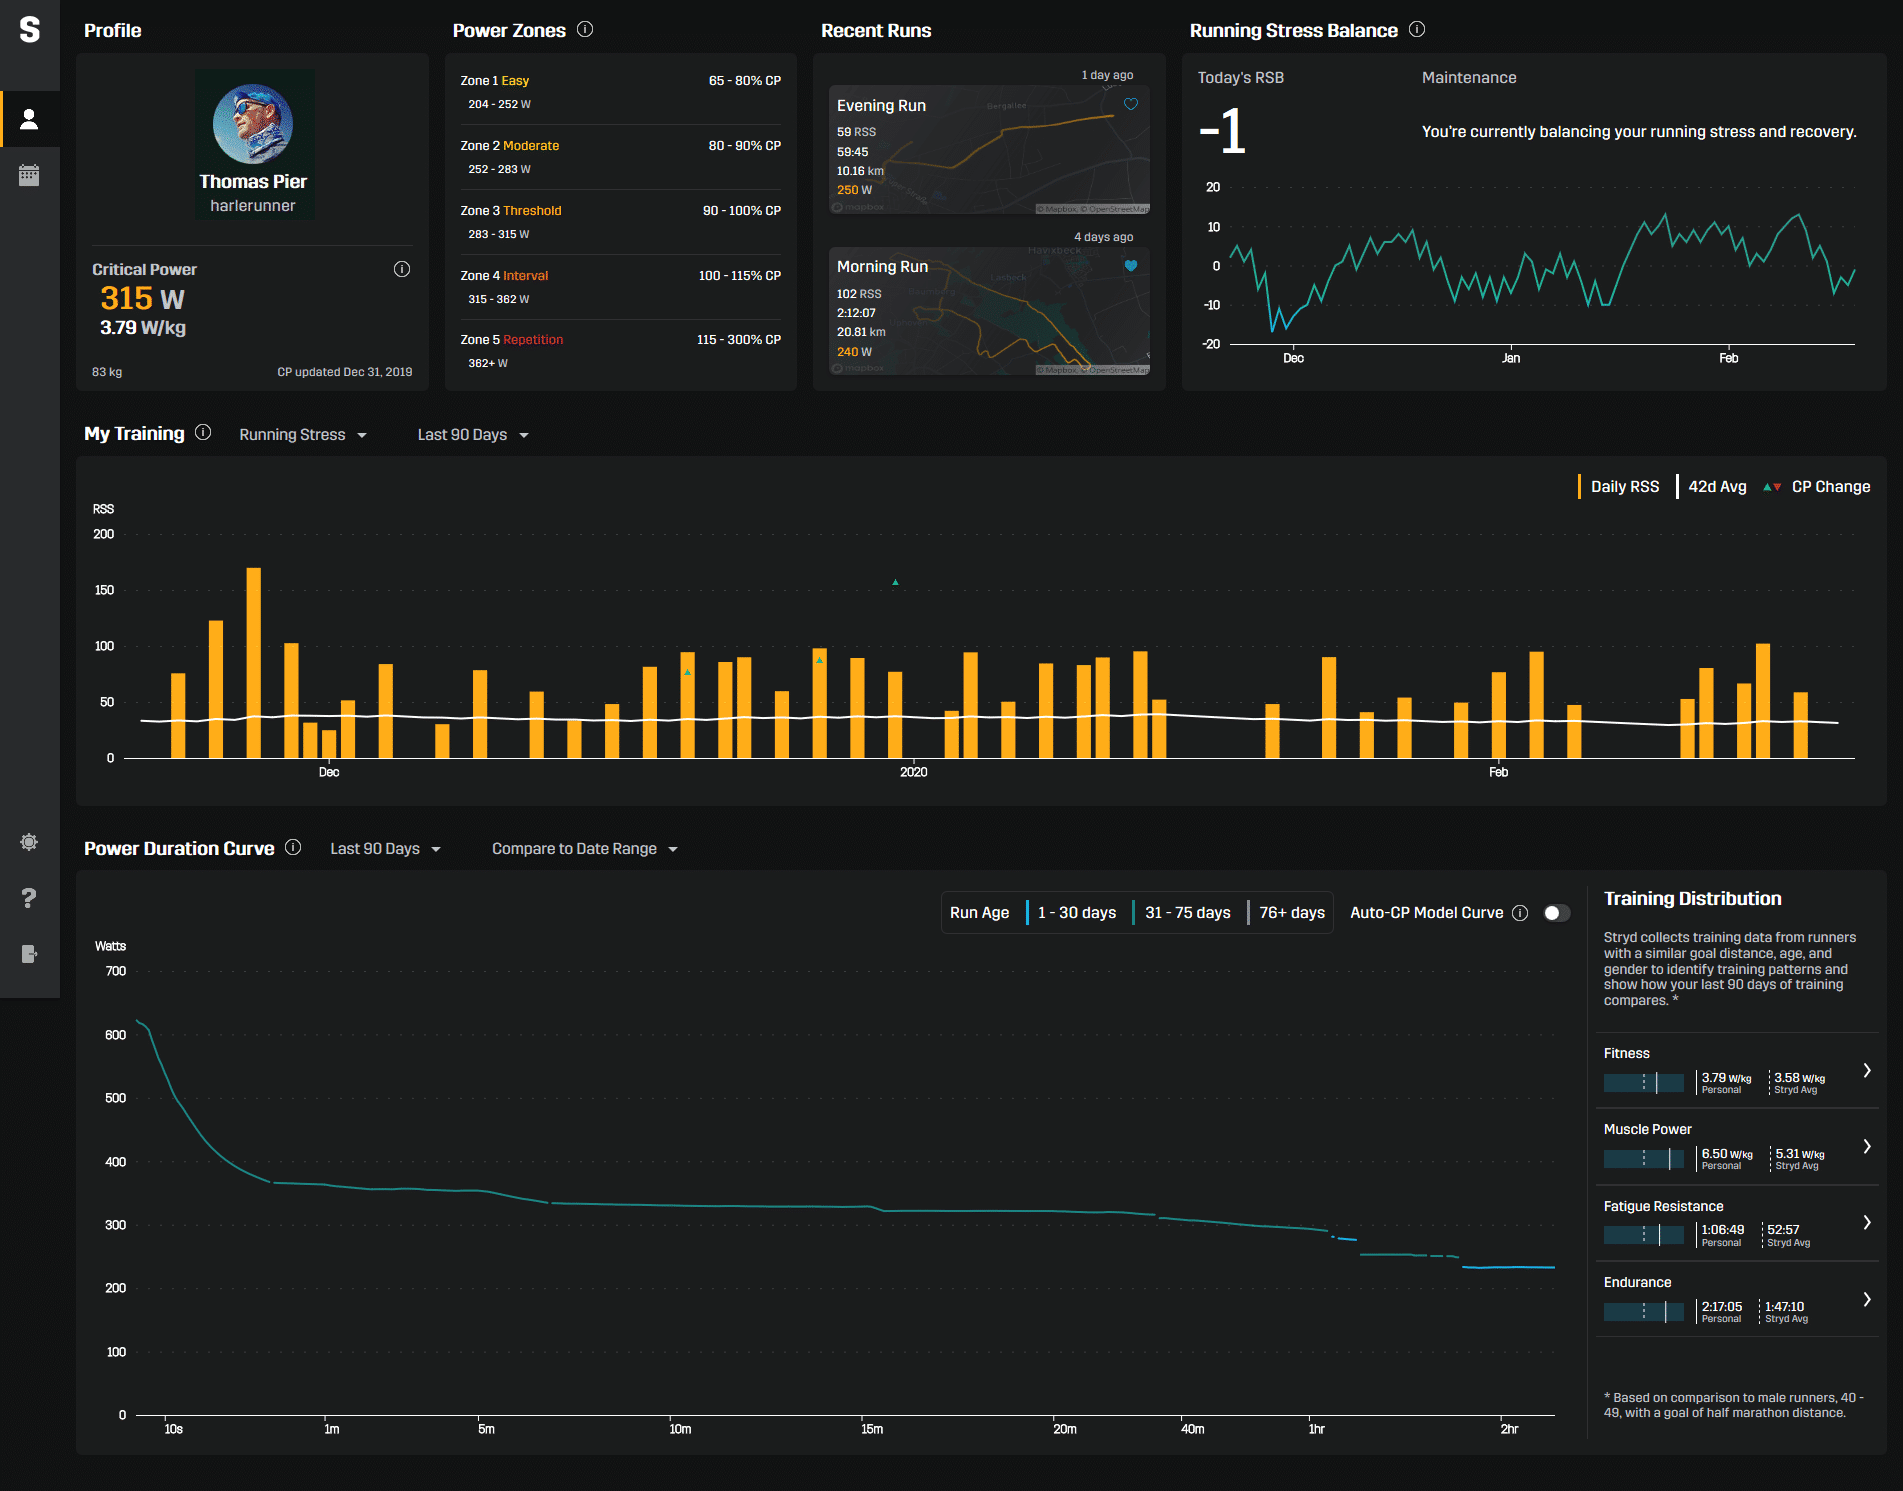
About the new Stryd Powercenter I wrote a separate post, so I won’t repeat everything here. Initially, the platform was only a supplement to the portals of the manufacturers, but is more and more turning into a serious analysis platform. Especially the section on the Power Duration Curve is worth studying more closely, because here lie the real values of the site.
Critical Power
One of the things that makes the Stryd Footpod so interesting is the determination of critical power from training. This is (to put it simple) the power at your anaerobic threshold. It’s an important parameter from which training zones and competition predictions can be made. Basically there are two ways to get to this value:
Auto-Calculated
The best way to determine the CP is automatic calculation. The basis for this are the training sessions of the last 90 days and their maximum power values over certain time periods. There is a long support article at Stryd.
Three runs are basically enough for the calculation, one of which must be longer than 50 minutes. So if you switch on the automatic calculation, you could already get a value for the Critical Power after three training units. But this value should be used with caution…
The calculation model must be fed with maximum values in order to provide a reliable result. Three slow runs are therefore not enough. On the other hand, a race over 5 or 10 kilometres would already provide very good data – as long as it was done “all out”.
In other words: during the last 90 days you should have reached your performance limit for 1 minute, over 20 minutes and over one hour, so that the calculation of the critical power has an optimal basis.
Critical Power Test
Wer bereits von Anfang an mit einer brauchbaren Critical Power arbeiten will, kann auch einen Critical Power Test machen und die Ergebnisse in die App eintragen. Dazu läuft man zum Beispiel einmal drei und einmal 9 Minuten all-out. Natürlich mit dem Stryd, denn anschließend braucht man die durchschnittlichen Watt-Werte dieser beiden Läufe.
Das kann dann einen guten Anfangswert bringen, bevor man auf die automatische Berechnung umschaltet. Es macht aber auch Sinn, diesen Test alle 2-3 Monate im Training zu wiederholen. Denn auch die automatische Kalkulation wird diese Läufe berücksichtigen und wahrscheinlich die CP daraufhin aktualisieren.
Finetuning
Stryd als Quelle für Pace und Distanz
Es wäre deutlich zu kurz gegriffen, den Stryd “nur” für die Powermessung zu verwenden. Für mich liegt ein großer Vorteil auch in der Möglichkeit, eine GPS-unabhängige Quelle für Pace und Distanz zu haben. Meine Erfahrungen damit sind sehr gut (ich laufe seit zwei Jahren nicht mehr mit GPS-Pace), allerdings muss man sich ein wenig kümmern, um gute Ergebnisse zu bekommen.
Auto-Kalibrierung: aus
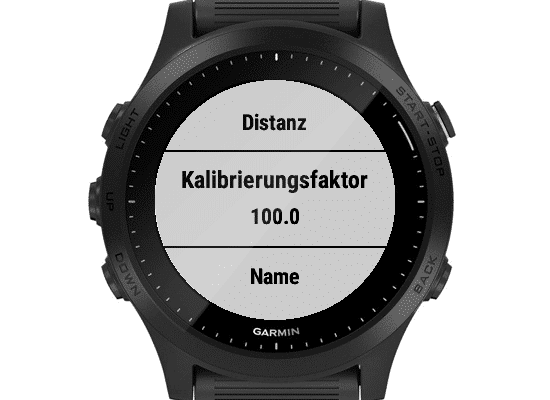
Bei Garmin, Polar und Suunto ist nach dem Hinzufügen als Laufsensor die Auto-Kalibrierung aktiviert. Die Uhren vergleichen also selbstständig die vom Footpod übermittelte Distanz mit der per GPS ermittelten und errechnen daraus den passenden Faktor. Dieses Verhalten ist vom Stryd-Hersteller ausdrücklich nicht erwünscht, daher sollte man die Auto-Kalibrierung deaktivieren und den Faktor auf “100.0” stellen.
Mit meinem ersten Stryd-Footpod mit ich mit dieser Einstellung gut zurecht gekommen. Auf vermessenen Strecke hatte ich immer nur minimale Abweichungen. Trotzdem kann es vorkommen, dass man manuell eingreifen muss – so wie ich beim neuen Stryd Wind.
Pace (und Distanz)
Je nach Uhrenmodell ist es dann möglich, Pace oder Distanz bzw. sogar Pace und Distanz des Stryd zu verwendet. Die Uhr zeichnet dann weiterhin den GPS-Track eurer Lauftrecke auf, die Anzeigen zu Geschwindigkeit und Entfernung stammen aber eben vom Stryd. Das macht sich immer dann positiv bemerkbar, wenn der GPS-Empfang schlecht ist: im Wald, in Schluchten oder in Städten mit hohen Gebäuden. Dazu kommt noch, dass die Pace-Werte deutlich schneller aktualisiert werden, was auch bei kurzen, schnellen Intervallen zu brauchbaren Anzeigen führt.
Kalibrierungsfaktor ermitteln
Auch dafür hat Stryd natürlich eine Anleitung in der Support-Datenbank. Man soll auf einer 400-Meter-Bahn auf der inneren Markierung der Bahn 2 laufen. Die sollte exakt 406 Meter lang sein. Nach zum Beispiel fünf Runden kommen also 2,03 Kilometer zusammen. Hat man die Uhr mit dem Stryd bereits so eingestellt, dass die Distanz vom Stryd kommt und der Kalibrierungsfaktor auf 100 steht, kann man aus der gemessenen Abweichung einen neuen Faktor ermitteln:
(Vermessene Distanz der Strecke) / (vom Stryd gemessene Strecke)
Beispiel: Du bist fünf Runden auf der Innenmarkierung von Bahn 2 gelaufen, die Uhr zeigt aber nicht 2,03 Kilometer an, sondern 1,95 Kilometer. Dann wäre der neue Faktor 1.04.
Allerdings ist dabei zu beachten, dass der Faktor geschwindigkeitsabhängig ist. Läuft man die Runden mit einer 6er-Pace kommt also ein leicht anderer Faktor heraus, als wenn man mit einem 5er-Schnitt unterwegs ist. Letztendlich ist es einfach so, dass 100%ige Genauigkeit nicht zu erreichen ist. Daher ist mein Ansatz etwas praxisnäher:
Strava
Ehrlich gesagt ist Strava nicht gerade bekannt dafür, besonders exakt mit den übermittelten Daten umzugehen. Die dort angezeigte GPS-Distanz kann durchaus von der GPS-Distanz der aufzeichnenden Laufuhr abweichen, weil Strava den Track selbst nochmal nachrechnet. Mein Weg ist also keine “präzise Wissenschaft”, sondern eher die “einfache Lösung”. ;) Dafür muss man auch nicht um einen Sportplatz laufen, sondern kann es bequem am Rechner erledigen.
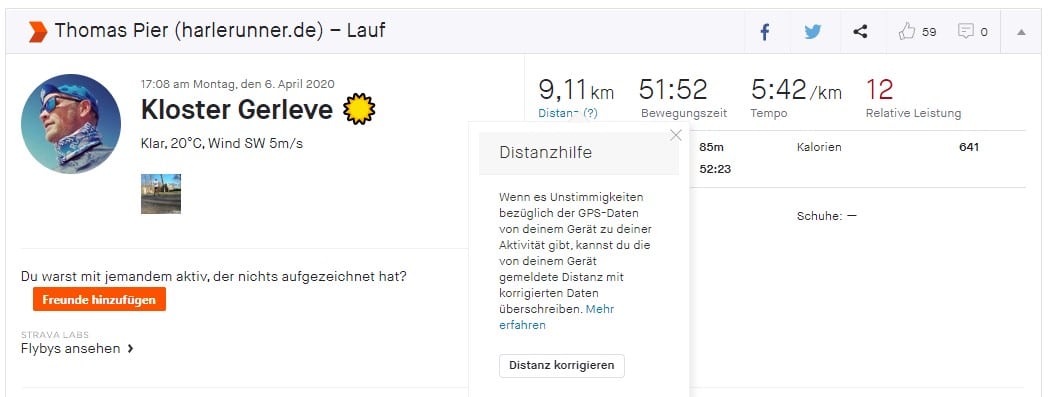
Habt ihr schon mal auf das Wort “Distanz” unter den Angaben zu eurem Lauf geklickt? Angezeigt wird dort die von der Uhr übermittelte Entfernung. Sollte diese nicht vom GPS stammen, kann man über “Distanz korrigieren” den übertragenen Wert gegen den (von Strava berechneten) GPS-Wert austauschen.
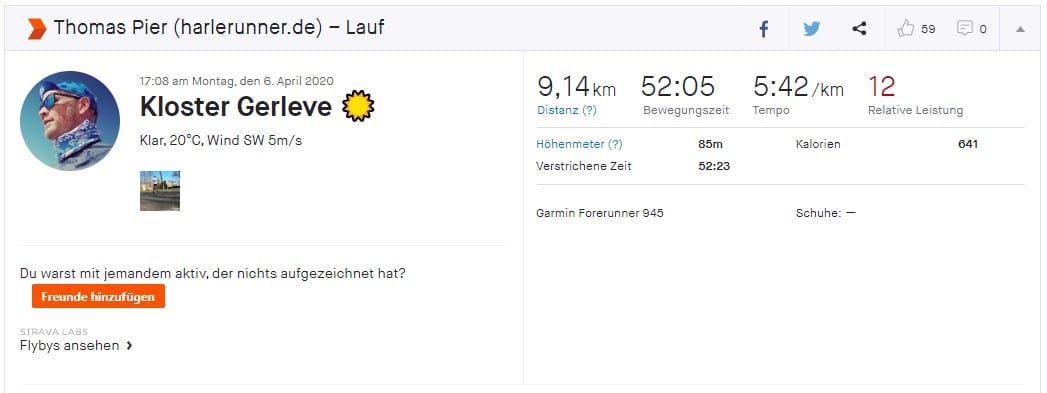
In diesem Beispiel hat der Stryd also ca. 30 Meter zu kurz gemessen, was auf gut neun Kilometern eine Abweichung von deutlich weniger als einem Prozent ausmacht. Es entspricht also einem Faktor von “1.003”. Somit ist sicher keine Korrektur am jetzigen Faktor notwendig (die Streuung über die Geschwindigkeiten ist deutlich größer…).
Bei dem Lauf war in der Uhr allerdings bereits ein Faktor von “1.032” hinterlegt. Um den zu ermitteln, hatte ich mir eine kleine Excel-Tabelle gebastelt. Dazu sind sicher nicht so viele Werte notwendig, wie ich ermittelt habe. Aber andererseits ist der Weg so einfach, dass das in wenigen Minuten erledigt ist.

Dies und das
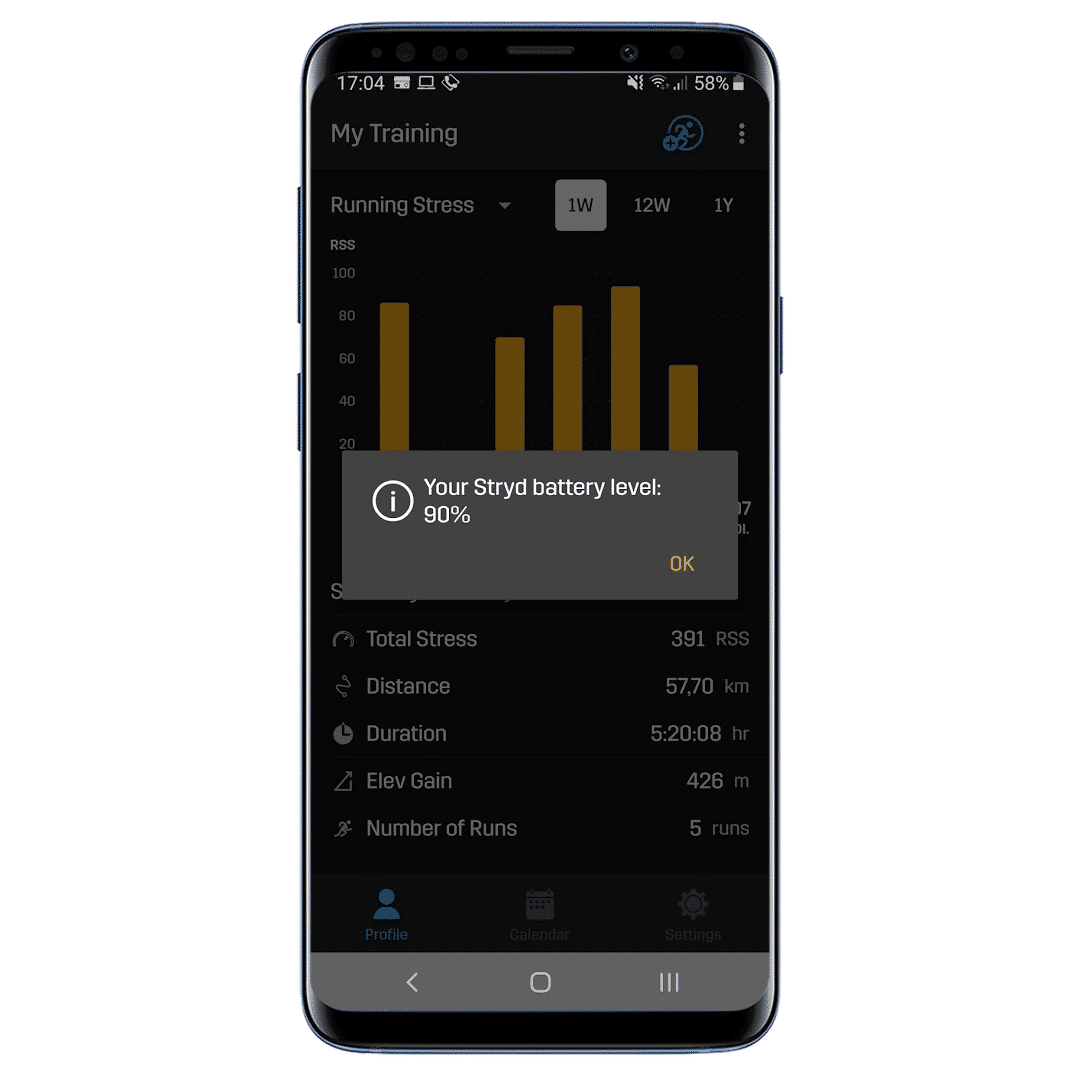
Akkustand
Lange Zeit gab es keine Lösung, den Akkustand des Stryd einzusehen. Die Funktion ist aber mittlerweile in die App integriert. Auf der Trainingsseite geht man oben rechts auf die drei Punkte und wählt dann “Check Battery”.
Garmin: Bluetooth oder ANT+?
Bei den anderen Herstellern stellt sich die Frage erst garnicht, denn es wird “nur” Bluetooth unterstützt. Garmin hat lange Zeit nur auf den Funkstandard ANT+ gesetzt, bietet jetzt bei den höherpreisigen Modellen alternativ auch Bluetooth für die Verbindung zum Beispiel zum Stryd an. So ist der Stryd für meine Garmin Forerunner 945 insgesamt als drei Geräte erkennbar: als “Stryd”-Laufsensor (Bluetooth), als Laufsensor “48457” (ANT+) und als Leistungssensor “48457” (ANT+).
Grundsätzlich sollte nur eine Verbindung (als Laufsensor) hergestellt werden. Ob diese über Bluetooth oder ANT+ läuft, ist meines Erachtens egal.
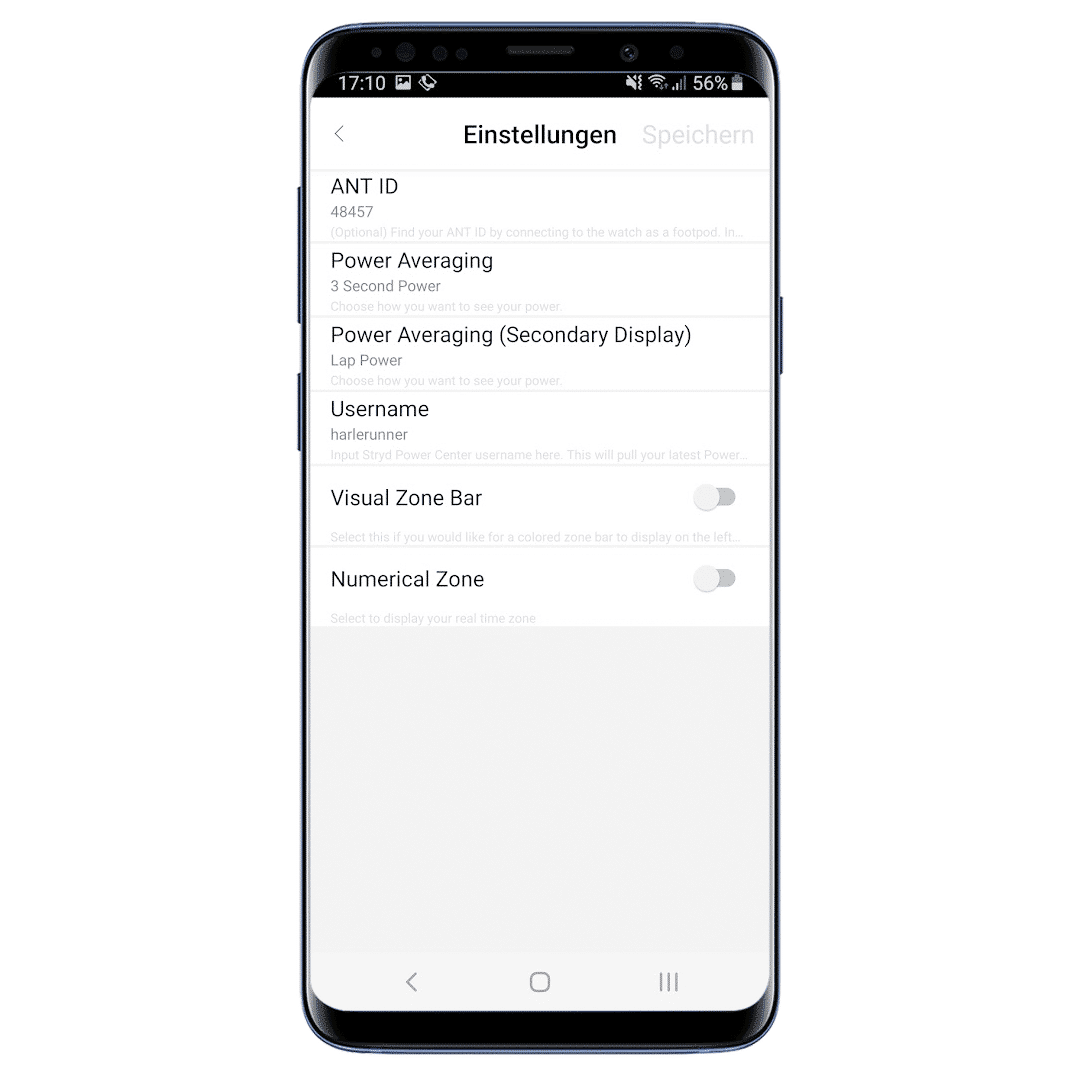
Garmin: ANT+-ID eintragen
In dem Connect-IQ-Datenfeld gibt es in den Einstellungen die Möglichkeit, die ANT-ID des Stryd fest einzutragen. Steht in diesem Feld die “0”, verbindet sich das Datenfeld im Prinzip mit dem nächsten erreichbaren Stryd-Footpod. Das könnte im Starterfeld einer großen Laufveranstaltung theoretisch auch der Sensor des Nebenmanns sein… Die ANT-ID ist die Zahl, unter der der Stryd von der Uhr gefunden wurde – in meinem Fall also “48457”. Sicherheitshalber trage ich die immer in das Feld ein.
Interessanterweise funktioniert die Verbindung zum Datenfeld mit eingetragener ID auch dann noch, wenn man den Stryd als Sensor in der Uhr wieder entfernt. :) Sollte man natürlich nicht machen, ist mir aber mal passiert und hat erstmal zu viel Rätselraten geführt.
Läuft die Verbindung über Bluetooth, sollte eine Verwechslung des Pods mit dem Nebenmann auch nicht auftreten. In wiefern dann trotzdem der Eintrag der ANT-ID sinnvoll ist, kann ich nicht sagen.
Auch als Leistungsmesser verbinden?
Normalerweise reicht es aus, den Stryd als Laufsensor zu verbinden. Das betrifft alle Hersteller, mit Ausnahme der Suunto Ambit3-Modelle. Denn über den Weg gelangen nicht nur die typischen Footpod-Daten an die Uhr (Geschwindigkeit, Schrittfrequenz, Bodenkontaktzeiten, …), sondern eben auch die Leistung.
Die Verbindung als Leistungmesser kann allerdings auf einigen Garmin-Uhren Sinn machen, die nativ mit Powermetern umgehen können (Forerunner 935/945, Fenix-Modelle), und auf denen spezielle Connect-IQ-Datenfelder verwendet werden, die zum Auslesen der Powerdaten diese zusätzliche Verbindung brauchen. Das sollte aber der seltene Ausnahmefall sein.
Abschluss
Puh… meine “kurze Erstanleitung” ist doch ganz schön lang geworden. Trotzdem hört sie auf, wo es ja eigentlich erst anfängt: was mache ich nun mit den ganzen neuen Daten? Soll ich ab jetzt nur noch nach Watt trainieren? Welches Watt-Ziel ist für meinen nächsten Wettkampf sinnvoll?
Zu einigen Fragen gibt es hier auf dem Blog bereits Antworten – anderen kommen bestimmt noch. Guckt einfach mal und dem Stryd-Tag nach. :) Ansonsten kann ich nur die beiden Stryd-Gruppen auf Facebook empfehlen: die STRYD Community (englisch) und die STRYD Community deutsch.
Wem noch Ergänzungen oder Korrekturen zu diesem Artikel einfallen, darf sich gerne bei mir melden.

Autor und Betreiber von Harlerunner.de. Läufer seit mehr als zehn Jahren, über 100 Wettkämpfe von 5 km bis Halbmarathon im Gepäck, bisher mehr als 500 Produkte getestet. Kein Labortest — alles kommt aus dem echten Training in und um Coesfeld. Was du hier liest, hat er selbst an den Füßen, am Körper, am Handgelenk oder im Ohr gehabt.
Author and owner of Harlerunner.de. A runner for over ten years, with more than 100 races under his belt – ranging from 5 km to half-marathons – and having tested over 500 products to date. No lab tests – everything is based on real-world training in and around Coesfeld. Everything you read here is something he has personally worn on his feet, on his body, on his wrist or in his ear.